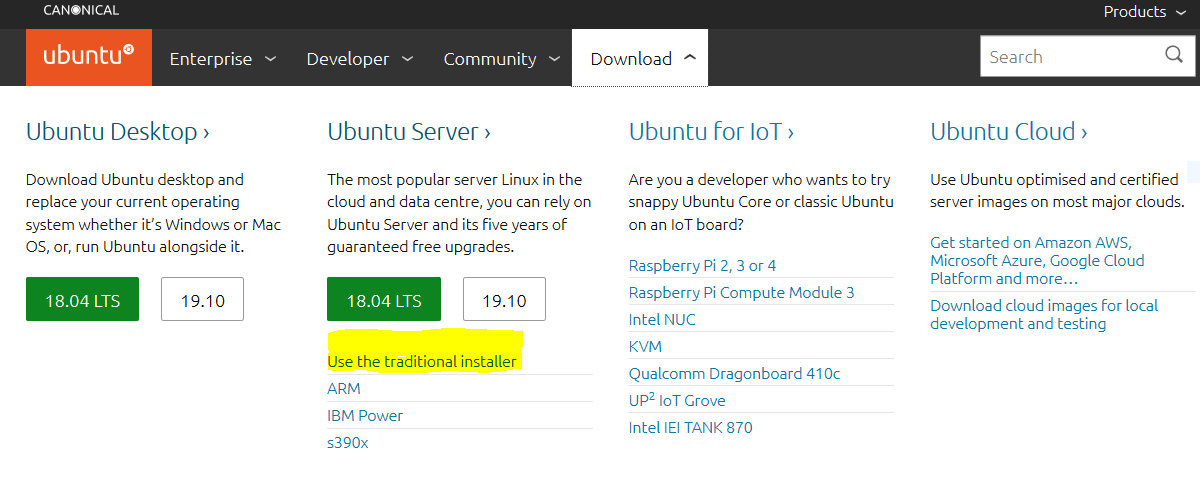
We use the traditonal installer to install Ubuntu server 18.04 in this video. You will need to download Ubuntu server from the Ubuntu repository using the link below or by going to their website and downloading it

You will then need to create either a DVD or USB iso and boot from it.
Ubuntu server runs without a GUI (Graphical User Interface) unlike Ubuntu desktop. Once you have installed it there will be only a command line when you log in. The first thing you will want to do is is run a few commands to make sure your system is up to date. sudo apt-get update and then sudo apt-get upgrade. It is the same thing that happens on your desktop when you check for updates but its all gets displayed in text instead of the short message from your desktop GUI.
It is quite common to connect to an Ubuntu server (or any Linux server) using an SSH tunnel (Secure Socket) and a terminal or console. This allows for secure connections over unsecured networks. An example of this is a systems administrator working on a desktop or laptop in Toronto and wants to schedule a cron job (scheduled task) on the sever running in Montreal. Instead of going to the server room in Montreal and accessing the console physically, they could just use a terminal like putty or WSL if on Windows or on Linux they can just fire up a terminal and log in remotely using a command like ssh username@servername. Security practices like VPN, or using ssh-keygen to generate public/private rsa key pairs and such are another topic but should always be considered when doing any remote access. You will need to run the following command to prepare your server for an ssh connection: sudo apt-get install ssh
For windows users, you can get putty here


